
 ES
A tile installer does not drill a wall tile for the fun of it. The hole is there because something has to pass through it: a mixer valve, a shower outlet, a pipe, a drain. Get the kit wrong and you either buy four sizes you never use or you are missing the one diameter that fits the valve body in front of you. M14 hole saw kits solve the second problem because a single thread fits both the angle grinder and the wet polisher already on the van.
Why M14 is the installer's thread
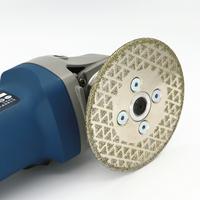
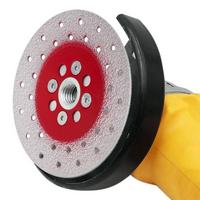
M14 is the standard spindle on most European angle grinders and many wet polishers. An M14 hole saw screws straight onto the tool you already own, so there is no adapter to lose, no chuck to tighten and no run-out from a wobbly arbor. That direct fit also keeps the bit centred, which matters on porcelain where a bit that wanders chips the glaze before the cut has even started. If you are new to the thread, our notes on M14 vs 5/8-11 thread compatibility explain which tool takes which.
Sizes that match real fittings
A useful kit covers the diameters that keep turning up on site rather than a tidy round number. In practice installers reach for small bits for pipe outlets and tap holes, mid sizes for shower mixers and valve bodies, and large bits for waste and recessed fittings. The diameters below cover the great majority of residential work:
- 6-10 mm: fixing points, small sensor recesses, thin pipe.
- 20-25 mm: shower arms, small outlets, cable and pipe entries.
- 35-50 mm: mixer valve bodies and larger pipework.
- 68 mm and above: recessed boxes, larger waste and drainage.
A kit built around a cased M14 vacuum brazed hole saw set usually groups these sizes with a matching case so nothing is borrowed and never returned.
Vacuum brazed or sintered tips
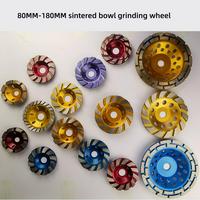
Both cut porcelain; they fail differently. A vacuum brazed hole saw has a single layer of diamond bonded to a thin steel body, so it cuts fast and leaves a clean edge - ideal for the installer who drills a handful of holes per day and wants speed. A sintered tip holds diamond throughout a thicker matrix and wears back slowly, which suits repeat drilling and harder materials. Many kits mix the two, using brazed bits for fine work and sintered bits for the heavy diameters.
What else belongs in the kit
- A pilot or centre bit: stops the saw skating on glazed tile and steers it through the first millimetre.
- Dust or water management: a water feed collar or a dry dust port, depending on the tool.
- A case that survives: diamond edges blunt against other steel, so separate compartments are not a luxury.
- Spare sizes: the valve you fit next month is probably not the one in front of you today.
Technique that saves the tile
Start the bit at a shallow angle to cut a crescent into the glaze, then bring the tool upright once it has a groove to follow. Keep water flowing on wet cuts and let the bit plough steady rather than pushing hard - diamond cuts on speed, not muscle. Back the tile with a scrap offcut or a wooden block so the exit side does not chip, and lift the bit regularly on dry cuts to clear dust.
Safety
Tile dust carries silica, so wear a dust mask or respirator and eye protection, and use hearing protection with an angle grinder. Keep the tile clamped or supported so it cannot spin, respect the RPM rating on the bit and follow the manufacturer's instructions. Never run a wet bit without its water feed - the crown will burn out in minutes.
Kit checklist before you buy
- Does the thread match your tool (M14 for most European grinders and polishers)?
- Do the sizes cover valve bodies, outlets and waste, not just round numbers?
- Are the tips brazed, sintered, or a sensible mix?
- Is there a pilot bit and a case with dividers?
- Browse the full diamond drill bit range to pair your kit with matching bits and backers.