
 ES
A countertop installer works at the end of a long chain, where a mistake cannot be hidden - the edge is visible, the cutouts have to fit, and the surface is the first thing a customer looks at. The right tool kit is small but specific: a sharp cutting blade, core bits for tap and pipe holes, tools for sink openings, polishing pads for edges, and the safety gear that goes with dusty, wet, sharp work.
Cutting the slab in place
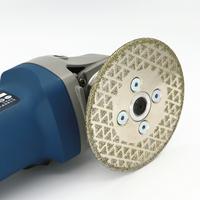
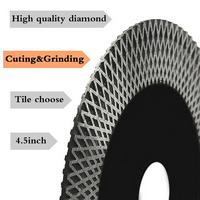
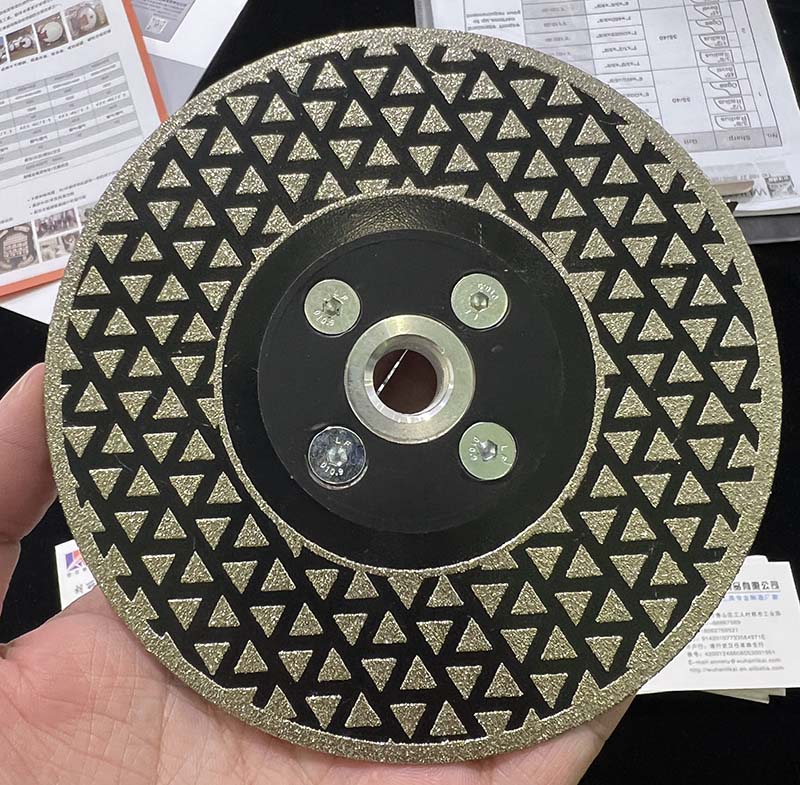
Most installs need on-site cutting - trimming a piece to fit, cutting around an obstacle, opening a hob or a socket. That calls for a sharp diamond blade matched to the stone, run wet if possible, with a guide for straight cuts. A glazed or blunt blade burns quartz and granite edges, and the burn is not recoverable, so a spare sharp blade is not a luxury. See the diamond saw blade range for blades suited to on-site stone cutting.
Drilling tap and pipe holes
Tap holes and pipe openings are cut on site far more often than in the shop. A set of core bits in the common diameters covers most of it - a fine crown for tile-backed splashbacks, a tougher bit for stone. Water cooling is essential, and the bit has to suit the material: a bit that cuts marble will glaze on hard porcelain. A sintered M14 core bit is a durable general choice for stone work.
Sink cutouts and larger openings
Sink openings are usually cut in the shop, but repairs and adjustments happen on site. Finger bits and larger core bits do this work, guided by a template. Where a cutout is made on site, support the slab fully and keep water flowing - a cracked countertop at this stage is a total loss. For the technique, see diamond finger bits for granite sink cutouts.
Edge finishing
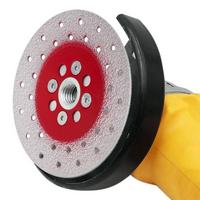
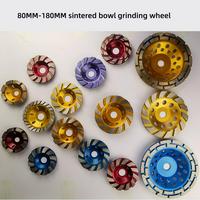
Edges take damage in transit and during fitting, and a visible edge has to match. The installer needs a cup wheel or profile tool to blend chips and a set of hand polishing pads to restore the finish by hand where a machine cannot reach. A 100 mm cup wheel handles blending, and hand pads finish the edge to the surface gloss - see hand polishing pads for edge work.
The kit, in list form
- Cutting blades: sharp, stone-matched, with a spare.
- Core bits: common tap and pipe diameters, wet-rated.
- Finger or small core bits: for adjustments and openings.
- Cup wheel or profile tool: for blending chips and edges.
- Hand polishing pads: a grit range for edge finishing.
- Backer pads: matched to the tool and pad sizes.
- A small wet setup: water feed or a gravity tank, plus an RCD or GFCI.
- Support and clamping: boards, clamps and trestles that stop a slab flexing.
- Safety kit: dust mask or respirator, eye and hearing protection, cut-resistant gloves.
Why preparation beats improvisation
Almost every on-site problem traces back to a tool that was not there: a blunt blade, the wrong core bit, no support under a slab. A complete, sharp, well-maintained kit means the installer can handle the variation the site throws up without stopping or improvising. Check and restock the kit before every job, and keep blades and bits sharp - dull tooling is what causes burnt edges and cracked stone.
Safety
Wear a dust mask or respirator, eye and hearing protection and cut-resistant gloves, and use water or extraction to control dust. Keep water away from electrical connections with an RCD or GFCI, support and clamp the work, keep guards fitted and respect tool and blade speed ratings. Follow the manufacturer's instructions for each tool and material, and never lift or move a slab without proper equipment and help.