
 ES
Electroplated diamond tools are only as reliable as the layer of diamond bonded to them, and that layer is easy to get wrong. Since the diamond sits on the surface rather than through the body, a thin patch, a poorly bonded area or a single worn spot decides the tool's life. Inspecting electroplated tools properly - whether as a buyer, a distributor or a shop - catches the problems before they reach a customer.
Why electroplated tools need careful inspection
Electroplating bonds a single layer of diamond to a steel body. There is no thick matrix to hide a defect: if the coating is uneven, the diamond sparse, or the adhesion weak, the tool will fail early and unevenly. That makes inspection more important on electroplated tools than on sintered ones, where the diamond runs through the depth of the material.
What to inspect
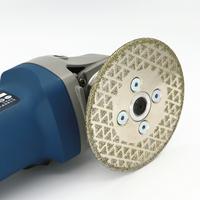
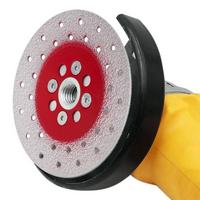
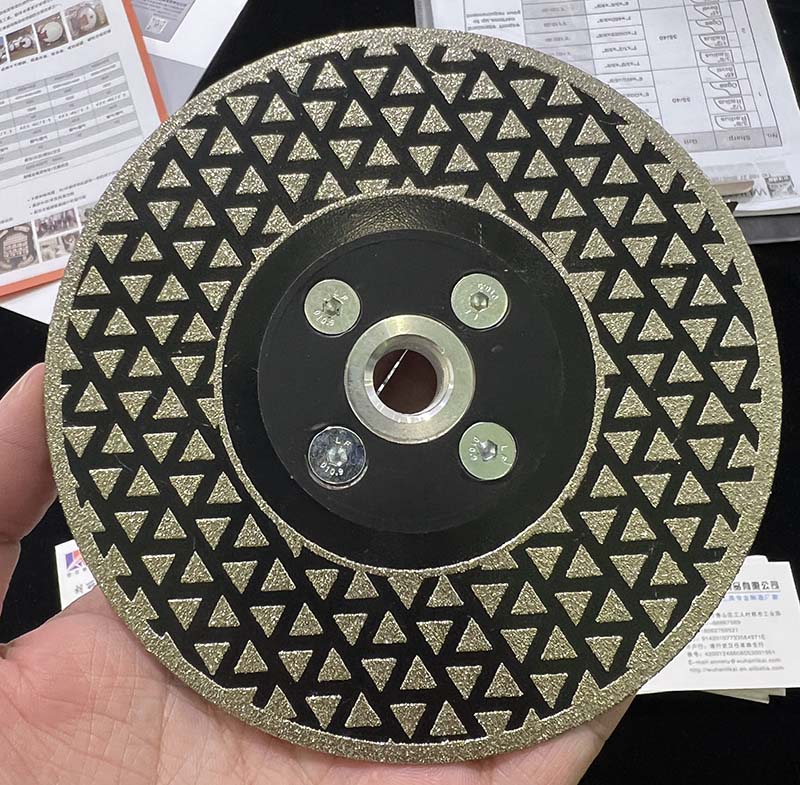
- Diamond coverage: the diamond should be distributed evenly, with no bare patches or areas where it looks thin. Sparse areas wear and fail first.
- Adhesion: the coating should look firmly bonded, with no flaking, lifting or blistered areas where the diamond layer is separating from the body.
- Uniformity: coverage should be consistent across the whole working area, including edges, which is where electroplating is often thinnest.
- Diamond size and type: check the grit is consistent and matches the specification - mixed or oversized grains cut unevenly.
- Body quality: the steel core should be straight, free of cracks and rust, with a clean machined seating face.
- Thread and mounting: clean, undamaged threads that seat properly on the tool.
- Run-out: fit the tool and check it runs true; a tool that wobbles will not cut accurately.
- Marking: legible dimensions, intended use and maximum RPM.
Common defects and what they mean
- Bare or thin patches: uneven plating, which leads to premature failure at the bare area.
- Flaking or lifting: poor adhesion; the diamond will shed in use.
- Blistered coating: contamination or a plating fault - reject it.
- Bent or cracked body: the tool is unsafe and unusable.
- Contaminated or damaged thread: the tool will not seat properly and may come loose.
- Illegible marking: a safety problem, since the user cannot check the RPM rating.
How to inspect in practice
- Look at the tool in good light, and use a magnifier for the diamond coverage on small tools.
- Run a fingernail or a soft probe over the coating to feel for lifting or blisters - gently, without dislodging good diamond.
- Check the body for straightness by eye against a straight edge, and spin it to check run-out.
- Compare against a sealed reference sample; consistency between batches is as important as the initial quality.
- Document what you find, and set a clear accept/reject standard rather than judging by feel.
For storage that protects the coating between use, see storage and transport tips.
Inspection as part of buying
Inspection is not just a shop-floor habit - it is a purchasing tool. Agreeing what is inspected, how, and to what standard, and keeping a reference sample, turns quality from an opinion into a specification. For the wider buying process, see the OEM specification checklist.
Safety
Never release an electroplated tool that fails inspection - a tool with a bent body, cracked core or poor adhesion can fail at speed. Check the marking states the correct maximum RPM and intended use, wear eye and hearing protection when testing tools, keep guards fitted and follow the manufacturer's instructions. Retire damaged tools rather than attempting to re-plate or repair them.
Inspection in short
- Check coverage, adhesion, uniformity and body quality.
- Reject bare patches, flaking, blisters, bends and damaged threads.
- Use a reference sample and a written standard.
- Browse the tool ranges to see how specification and inspection connect.