
 ES
Granite is hard, dense and abrasive, and it does not forgive tooling that is matched to softer stone. Shaping and finishing granite takes a sequence of diamond tools, each doing one stage well: cut the slab, shape the edge, refine the profile, then polish to a gloss that will not show scratches. A shop that gets the sequence and the tooling right produces granite that looks crisp and lasts; one that cuts corners produces burns, chips and haze.
The cutting stage
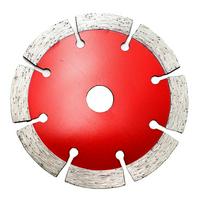
Cutting granite needs a blade with a hard bond that resists the abrasive material and stays sharp. A segment or turbo blade is typical, run wet to control both heat and dust. The blade must be sharp - a glazed blade on granite burns the edge quickly, and the burn will not come out. For an overview of the options, see the diamond saw blade range.
The shaping stage
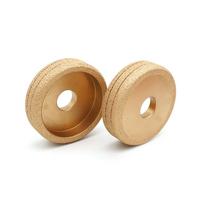
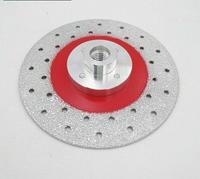
Shaping is where the edge profile is formed. On granite this is usually done with router bits or profile wheels, run wet and in stages so the profile is cut gradually rather than in one heavy pass. A vacuum brazed profile wheel forms the shape, and because granite is hard, taking the profile in two or three passes keeps the bit cutting instead of burning. Support the edge and keep water flowing throughout.
The refining stage
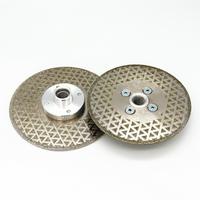
After shaping, the edge carries the scratch pattern of the shaping tool. Refining uses grinding tools - cup wheels or finer profile tools - to remove that pattern and bring the edge closer to the surface finish. On granite, a diamond cup wheel blends and levels the edge and adjacent surface. This stage is what prevents the finished edge from showing the coarse marks of the router bit under the polish.
The polishing stage
Granite polishes to a deep gloss, but only if the grits are stepped properly. A full sequence of resin pads - wet - takes the refined edge to a shine that matches the surface. Skipping grits leaves scratches that the finer pads cannot remove, and rushing with dry pads burns the surface. For the problems that show up here, see polishing pad troubleshooting.
The supporting tools most shops forget
- Core bits and finger bits: for sink cutouts, tap holes and pipe openings, run wet and supported.
- Hand polishing pads: for the corners and curves a machine cannot reach.
- Backer pads: matched to the shape, so polishing pads work evenly.
- A dressing stone or block: to revive a glazed blade or wheel before it burns a job.
Sequence is the real skill
- Cut with a sharp blade and water, and never let the blade burn the edge.
- Shape the profile in stages, wet and supported.
- Refine out the shaping marks before polishing.
- Polish through the full grit sequence, wet and clean.
- Finish the details by hand and check the whole edge matches before it leaves the shop.
Safety
Granite work produces silica dust and heavy slurry, so wear a dust mask or respirator, eye protection and hearing protection, and use water or extraction to control dust. Keep water away from electrical connections with an RCD or GFCI, support and clamp the workpiece, keep guards fitted and respect tool and blade speed ratings. Follow the manufacturer's instructions for each tool and the stone.