
 ES
Sealing is the step most often done on a schedule rather than on evidence. A floor sealed while it is still releasing moisture will cloud. A floor sealed with the wrong product will show every footprint. A floor that did not need sealing gets a coating that wears unevenly and has to be stripped.
Two categories of sealer
Impregnating sealers penetrate the stone's pores and line them, leaving the surface unchanged. They are the usual choice for polished and honed natural stone because they do not alter the finish.
Topical sealers form a film on the surface. They add gloss and wear resistance, but the film can scratch, yellow, and peel, and removing it requires a stripper that may also affect the stone finish. On a polished marble floor, a topical film usually looks wrong within a season.
When to seal in the sequence
Sealing comes after polishing and after the surface has been cleaned of all polishing residue. Powder residues in particular can prevent a sealer from penetrating, which is why a residue test matters: wipe a small area with a damp cloth and check for a white haze after it dries.
It also comes after the stone has dried. Stone that has been wet-polished holds moisture in its pores for days, and trapped moisture under a sealer produces a dark, cloudy patch that may not clear.
On new installations, grout and adhesive also need to cure before sealing. Sealing over uncured grout traps moisture in the joint and can discolour it.
Testing before treating
Put a few drops of water on the surface and watch. If the water beads and sits, the stone is already resisting absorption and a sealer will add little. If it darkens the stone within a minute, the stone is porous and will benefit.
Repeat the test in several locations. A single slab can vary, and a floor may have been sealed previously in one area and not another.
Choosing a product
Match the sealer to the stone and the service condition. A solvent-based impregnator generally penetrates better on dense stone; a water-based product has lower odour and is easier to use in occupied buildings. Both need adequate ventilation and time to cure.
For kitchen and bathroom surfaces, resistance to oils and acids matters more than resistance to water. For exterior stone, freeze-thaw behaviour and UV stability matter. A product sold as a general stone sealer may not cover all three.
Application
Apply a thin, even coat with a low-lint applicator, allow the recommended dwell time, and wipe off excess before it dries. Pooling is the main cause of patchy results: sealer that sits on the surface dries to a film that shows as a blotch.
Two thin coats usually outperform one heavy coat. Allow the first to dry according to the product instructions before the second.
Common mistakes
- Sealing a wet floor to save a day.
- Sealing over polishing powder residue.
- Using a topical sealer on polished marble and calling the resulting film "protection".
- Applying in direct sun or on a hot surface, so the product flashes off before it penetrates.
- Assuming a sealed floor no longer needs maintenance.
Tooling and next steps
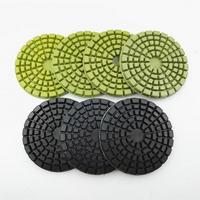
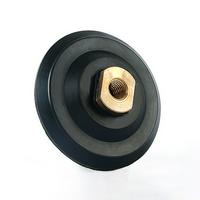
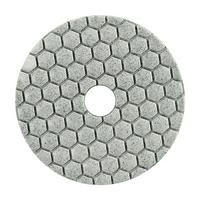
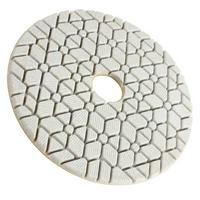
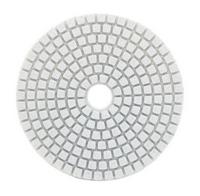
Sealing follows the polishing sequence, so the polishing tools category is the place to start. A dry diamond polishing pad is useful for final refinement before sealing, and a marble polishing pad covers the earlier stages.
Two related reads: the granite edge polishing sequence, and wet versus dry polishing pads.
Safety
Sealers are chemical products with solvent or alkaline components. Wear gloves and eye protection, ventilate the area, and keep the product away from ignition sources if it is solvent-based. Do not allow runoff into drains, and store containers sealed and labeled.
If you are unsure whether a stone needs sealing, send the stone type and a photo of the water bead test and we will advise on the sequence.