
 ES
The cutout edge on an undermount sink is inspected by every client who leans over the basin. It is also the hardest part of a countertop to polish, because the tools that work on a flat surface do not fit inside a 500 mm opening with a 40 mm overhang above it.
Why the inside edge is different
A flat countertop gives the pad full contact and room to move. A cutout edge gives a narrow vertical band, limited clearance, and a radius where the edge meets the underside. Pressure has to be applied sideways, and the tool is usually held at an angle that no pad is designed for.
The result is a common failure mode: a beautifully polished top surface with a dull or scratched cutout edge that shows as a grey band under the sink light.
Drum wheels do the rough work
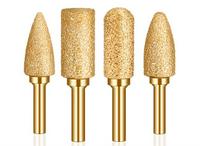
Diamond resin drum wheels — small cylinders with abrasive around the circumference — fit into the cutout and grind the vertical edge. They are available in a range of diameters, and the smaller diameters reach into tighter radii.
Work the drum along the edge with a light, even pressure. Heavy pressure on a small drum concentrates heat in one spot and can burn the resin bond, leaving a mark that requires going back a grit to remove.
The grit sequence
The edge follows the same logic as the top: coarse to fine, each step removing the previous scratch. Because the edge is narrow, it is tempting to skip steps; that is exactly where a visible scratch survives.
Finish with a fine grit that matches the top surface, then check under a light held at a low angle. If the edge reads darker than the top, it is either not fine enough or not clean.
Keeping the top edge crisp
The transition from the vertical cutout edge to the polished top is a sharp arris. A drum wheel held too high rounds that arris, and the result is a soft, worn-looking opening that no amount of polishing corrects.
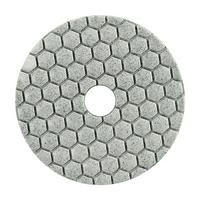
Mask the top surface with tape and work the drum up to the tape line, then remove the tape and blend the last millimeter by hand. Hand pads give more control at the arris than a spinning drum.
Water and slurry
Wet polishing is the norm on stone edges because it controls dust and keeps the bond cool. On an installed countertop, water management matters more: slurry runs into the cabinet below and stains it.
Use a sponge to control water, work in small sections, and place a tray or plastic sheet under the cutout. Dry polishing is possible with extraction, but the heat risk at the arris is higher.
Common mistakes
- Starting at too fine a grit because the cutout is small and the operator wants to finish quickly.
- Rounding the top arris with a drum wheel.
- Polishing the edge before the top, so the top work scratches the finished edge.
- No water control, leaving slurry stains in the cabinet.
- Judging the edge under diffuse light and missing a directional scratch.
Tooling
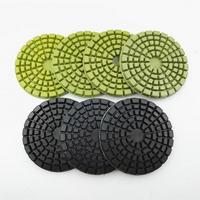
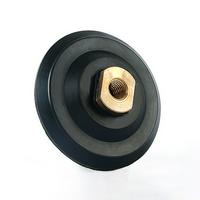
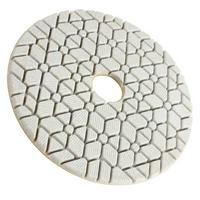
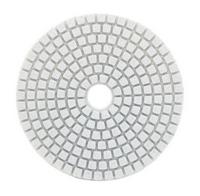
For cutouts, the polishing tools category covers the pads and backers. A 25 mm diamond resin drum wheel is the usual tool for the vertical edge, and an electroplated hand polishing pad blends the arris by hand.
Two related reads: finger bits for sink cutouts for the cutting side, and hand polishing pads for edge work.
Safety
Wet tools and water near a sink opening demand RCD protection. Wear eye protection, gloves, and a respirator if polishing dry. Keep fingers clear of the drum, support the countertop so the tool's pressure does not flex it, and never reach into the cutout while the tool is running.
If you are producing countertops with undermount sinks, send the cutout radius and stone type and we will confirm the drum diameter and grit sequence.