
 ES
A burn mark is heat damage. It is not a scratch, it does not respond to a finer grit, and polishing harder makes it worse. Understanding where the heat comes from is the difference between a two-minute correction and a re-finish of the whole surface.
Three inputs to heat
Heat at the pad face comes from speed, pressure, and dwell. Increase any one and the surface temperature rises; increase two and the resin bond can soften within seconds.
Water is the fourth variable. Wet polishing carries heat away; dry polishing relies on airflow and short dwell. A pad run dry at the speed used for wet work is a common way to burn a surface that was previously fine.
Speed ranges and what they suit
Variable-speed wet polishers typically run from around 1,000 rpm to 3,000 rpm. Coarse grits tolerate higher speed because they remove material and generate chips that carry heat away. Fine grits and dry pads need lower speed, because at high rpm they generate heat faster than they refine the surface.
A practical approach: set the speed for the grit you are using, not for the job as a whole. Changing from a coarse to a fine pad without touching the dial is one of the most common causes of a burnt finish.
Pressure
The pad's weight plus the tool's weight is usually enough. Additional pressure compresses the pad, reduces water flow to the contact area, and raises friction. The surface gets hotter while the cut gets no better.
If the pad is not cutting, the cause is usually the wrong grit, a worn pad, or a glazed surface — not insufficient pressure. Adding force hides the symptom for a pass and creates a burn.
Dwell and movement
Stopping in one place, even briefly, concentrates heat. Keep the tool moving in overlapping passes, and lift off rather than pausing when you need to check the surface.
On edges and inside corners, movement is limited and heat builds faster. Short passes with pauses between them are safer than one long pass held in the corner.
Recognising the damage
- Glossy patch with a faint halo: early heat damage. Reduce speed and continue with water; it may polish out at the current grit.
- Dark or yellowed patch on resin or marble: resin smear or scorched stone. Go back one or two grits and refinish the area.
- Wavy reflection: pad deformation from heat. Replace the pad before continuing, or the pattern will repeat.
- White haze on dark stone: dried slurry baked onto the surface. Clean and re-polish at the previous grit.
Recovering a burn
Drop back two grits, work the area wet at reduced speed, and blend outward into the surrounding finish. Feather the repair so the boundary is not visible under raking light. If the burn is deep enough to have changed the stone's colour, the area may need local re-honing.
Tooling
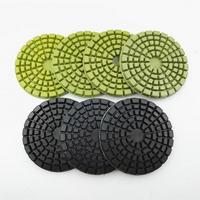
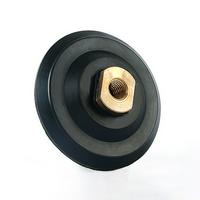
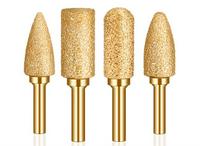
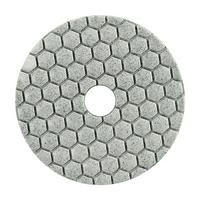
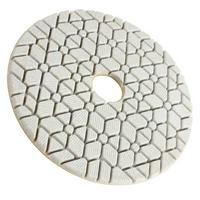
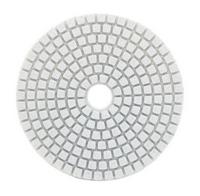
For controlled polishing, the polishing tools category covers pad options by grit and backing. A dry diamond polishing pad is designed for lower-speed dry work, and a flexible resin pad conforms to curves where pressure is harder to control.
Two related reads: matching rpm ratings to tooling, and polishing pad troubleshooting.
Safety
Wet polishers combine water and electricity. Use RCD protection, keep cables out of the wet zone, and check the tool's insulation before use. Wear eye protection, gloves, and hearing protection, and use a respirator for dry work. A hot pad can cause a contact burn — let it cool before changing grits by hand.
If you are setting up a polishing procedure and want speed and grit recommendations for a specific stone, send the material and finish target and we will advise.