
 ES
One of the more expensive mistakes in stone restoration is polishing a floor that was specified honed. The work is competent, the finish is uniform, and the client rejects it because the floor no longer matches the drawings.
The difference is scratch size, not coating
Honed marble has been refined to a matte surface — typically the equivalent of a mid-range diamond grit — with a soft, even sheen and no reflection. Polished marble has been refined further until the surface reflects clearly.
Neither finish is a coating. Both are the stone itself, which is why changing from one to the other is a mechanical process in both directions, and why a honed floor cannot be "touched up" into a polish without going through the grits.
Identifying the original finish
Compare the floor against a known sample, or against an area that has been protected — under a rug, inside a closet, behind a fixed unit. Those areas usually retain the original finish.
Look at the reflection of a straight edge under a light. A polished surface gives a sharp reflection; a honed surface gives a diffuse glow with no clear image. Gloss meters give a number, but on site the visual check is usually enough.
Restoring a honed finish
Grind out scratches and stains, then stop the sequence at the grit that matches the original. That usually means a mid-range resin grit rather than the finest available. Do not use polishing powder, which is designed to develop gloss.
The hard part is consistency. A honed finish shows variation more than a polished one because there is no gloss to hide differences in scratch direction. Keep passes uniform and overlap generously.
Restoring a polished finish
Take the surface through the full sequence to the finest grit available, then decide whether powder is needed for depth. On marble, powder can add a warmth that pads alone do not reach; on a large commercial floor, pads alone may be more consistent.
Check the result dry. A polished floor judged wet always looks better than it is.
Where the two meet
Many projects mix finishes deliberately: polished field tiles with honed borders, or polished countertops with honed backsplashes. On a restoration, the boundary between the two is the detail that gets missed. Mask the adjacent finish, work to the edge, and check the transition under raking light before moving on.
Common mistakes
- Assuming every marble floor should be polished.
- Restoring a honed floor with powder and creating an unintended gloss.
- Judging the finish while wet.
- Grinding a honed surface with too coarse a starting grit, leaving a scratch that shows through the matte finish.
- Not masking adjacent finishes at a transition.
Tooling
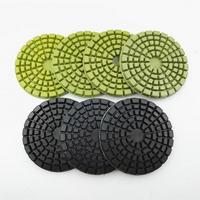
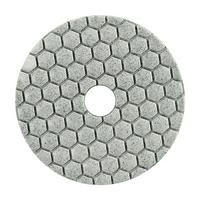
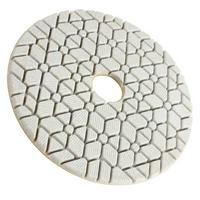
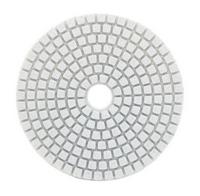
Start from the polishing tools category. A marble polishing pad covers the main sequence, and an 80 mm dry polishing pad is useful for smaller areas where a full-size pad will not fit.
Two related reads: cutting marble without edge damage, and polishing pad troubleshooting.
Safety
Marble dust is a respiratory irritant and the work is usually wet, which makes floors slippery. Wear a respirator when dry polishing, eye protection, gloves, and non-slip footwear. Keep water away from electrical outlets and use RCD protection on wet tools.
If you need to match an existing finish on a partial restoration, send photos of the original area and the damaged area and we will confirm the grit to stop at.