
 ES
A concrete floor is either prepared or it is not, and the difference is entirely in the tooling and the sequence. The same slab can end up as a coating-ready substrate or a polished floor, depending on which diamond tools are run and in what order. Working through the stages - grinding, then refining, then polishing - with the right tool for each is what makes the result predictable.
Stage one: grinding the slab flat
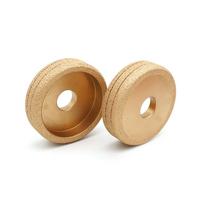
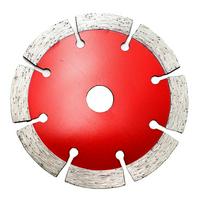
The first stage removes contaminants and levels the surface. Metal bond diamond wheels do this work because they are aggressive and durable, cutting through laitance, coatings and high spots. The tool here is a heavy grinding wheel, often segmented or arrow shaped, on a floor grinder. A metal bond arrow segment wheel is typical for this aggressive first pass. The aim is an open, even, coating-ready profile - not a glossy finish.
Stage two: refining the scratch pattern
Once the surface is level and clean, resin bond discs refine the coarse scratch pattern left by grinding. This is the honing stage, stepping through progressively finer resin tooling. A resin bond diamond sanding disc carries out this work, removing the grinding scratches and preparing the surface for polishing. Skipping grits here leads to visible scratches that later stages cannot fix.
Stage three: polishing to the required gloss
Polishing steps through finer resin pads until the floor reaches the level specified - matte, satin or high gloss. A diamond floor polishing pad finishes the surface, and the number of grit steps determines the gloss and the clarity of the reflection. Each grit must fully remove the previous one or the finish looks hazy.
The tools that hold it together
- The machine: a floor grinder matched to the area and the finish; pass speed and machine weight affect removal.
- Dust shrouds and vacuum: a shroud that seats on the floor and a vacuum with fine-dust filtration, because silica dust is the main hazard.
- Hand grinders: for edges and corners the big machine cannot reach, with matching wheels so the profile stays consistent.
- A dresser or dressing block: to revive a glazed wheel before it polishes instead of cutting.
- Chemical densifiers and sealers: not diamond tools, but part of the polished-concrete system and part of the sequencing.
Sequencing and consistency
- Work the whole floor at each stage before moving to the next - mixing stages creates an uneven finish.
- Keep overlapping passes at a steady speed; slowing in one area changes the finish there.
- Match the bond to the concrete: hard concrete wants a softer bond, abrasive concrete a harder one.
- Stop grinding once the surface is open and even; grinding past that point makes the floor too smooth to bond a coating.
For the dust side of the work, see dust control when grinding concrete.
Safety
Silica dust is the primary risk, so wear a dust mask or respirator, use a shroud and vacuum with proper filtration, and wear eye and hearing protection. Keep the machine's guards and handles fitted, respect tool and wheel speed ratings, and manage slurry if you work wet. Follow the manufacturer's instructions for the machine and the floor system.