
 ES
A 6 mm porcelain slab is the least forgiving material in a tile installer's day. It is dense enough to blunt a cheap bit, brittle enough to crack from a single slip, and expensive enough that a failed hole means a failed panel.
Why porcelain behaves this way
Porcelain is fired at high temperature, which gives it low porosity and high density. Sintered stone goes further, pressing and firing mineral powder into a sheet with almost no water absorption. Both are hard on diamond and both fracture rather than deform.
That combination means the bit has to cut freely, without pressure, and the panel has to be supported so vibration cannot propagate.
Bit selection
For small diameters in tile and slab, vacuum brazed or electroplated bits with a thin wall cut cleanly and run cool with water. For larger diameters, a segmented or turbo rim clears the slurry better and keeps the cut from packing.
Avoid bits designed for concrete. They are built for abrasive material and tend to be too aggressive in porcelain, which increases the chance of chipping at the exit.
Support the panel
Drill with the slab flat on a stable surface, backed by a sacrificial board. The backing board supports the exit face and reduces break-out. On an installed wall, a helper holding a board against the back is better than nothing, but a flat bench is better still.
Never drill a slab held only at its edges. Vibration travels through an unsupported panel and finds the weakest point, which is usually the hole.
Entry technique
Start at low speed with the bit at a slight angle to establish a crescent-shaped groove, then straighten as the bit seats. This is the standard technique for tile because it stops the bit skating across a glossy surface.
Use water from the start. A dry start heats the rim before the cut is established, and the first few seconds are when most chipping happens.
Apply almost no downward force. The bit should cut under its own weight plus a light hand. Pressure in porcelain causes chipping at the entry and blow-out at the exit.
Exit and break-out
Reduce pressure as the bit approaches the back face. When the pilot tip breaks through, stop, turn the panel over if possible, and complete the hole from the other side. Drilling from both faces is the most reliable way to avoid a chipped exit on a visible surface.
Common mistakes
- Using a hammer drill or percussion mode. Porcelain does not need impact and will crack.
- Drilling without water to save setup time.
- Pressing hard to speed up the cut.
- Drilling an unsupported panel.
- Using a worn bit that has lost its diamond and is relying on friction.
Tooling
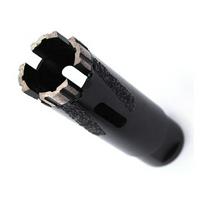
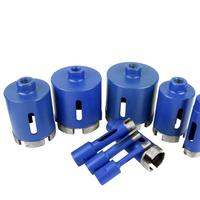
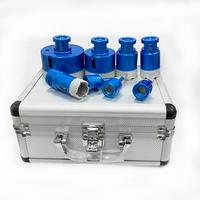
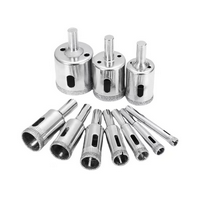
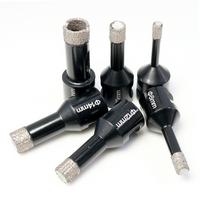
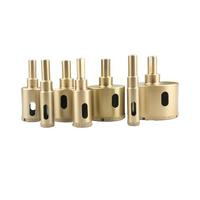
Start from the diamond drill bit category. A vacuum brazed core bit set for porcelain and quartz covers common diameters, and a tile hole saw handles the smaller fittings.
Two related reads: vacuum brazed core bits for porcelain, and milling bits for porcelain and quartz if the hole needs enlarging.
Safety
Porcelain shards are sharp and travel. Wear eye protection and gloves, keep water away from electrical tools without RCD protection, and support the panel so it cannot fall when the bit breaks through. A dust mask is still appropriate for dry drilling, though wet drilling is strongly preferred.
If you are drilling large format slabs and need a bit specification for the thickness and diameter, send the details and we will confirm.