
 ES
Fixing anything to a tiled wall means drilling through two materials with opposite properties. Tile is hard and brittle; the concrete or block behind it is softer and abrasive. A single bit rarely does both well, and the transition between them is where holes go wrong.
Two tools, one hole
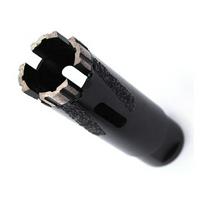
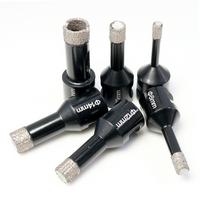
The usual approach is a diamond hole saw or a small diamond core bit through the tile, then a masonry or diamond bit for the substrate. The tile bit cuts a clean circle; the second bit drills the depth for the fixing.
Trying to push a masonry bit through glazed porcelain usually cracks the tile before it cuts. Trying to drill the full depth with a tile hole saw wastes time and burns the rim once it leaves the tile.
Getting through the tile without cracking it
Mark the centre precisely. Glazed tile is slippery, so start at a slight angle to establish a crescent, then straighten the bit as it seats.
Use water and low speed. Water keeps the rim cool and flushes the porcelain dust that otherwise packs the cut. Low speed stops the bit skating and reduces the vibration that propagates cracks through the tile.
Apply almost no pressure. The diamond cuts; the operator only guides. A firm press is the most common cause of a cracked tile around the hole.
The transition
Once through the tile, the bit will meet adhesive and then the substrate. Adhesive can be soft or hard, and it can grab a fine-toothed bit. Keep the same hole and switch to the substrate bit without moving the tool's position.
If the tile is mounted on a backer board rather than directly on concrete, the second material is much softer and a standard bit is enough. Confirm what is behind the tile before choosing the second bit — a hollow wall needs a different fixing entirely.
Hitting a void
Tiled walls over blockwork often have hollow cores. The bit drops suddenly when it breaks into a void, and the fixing has nothing to grip. In that case, a chemical anchor or a toggle fixing may be needed rather than a screw anchor.
Stop and reassess rather than drilling deeper hoping to find material. A hole drilled into a void is not a failed hole; it is information about the wall.
Keeping alignment
Two bits in sequence tend to drift. Use the same arbor and the same guide, and check the hole with a square before drilling the substrate. On a visible wall, a hole that is 2 mm off looks worse than a slightly oversized one.
Common mistakes
- Using a hammer drill on tile. Impact cracks porcelain.
- No water, so the rim overheats and glazes.
- Drilling through tile with a masonry bit and cracking the glaze.
- Not checking what is behind the tile before choosing the fixing.
- Drilling too deep and hitting a pipe or cable that was not scanned for.
Tooling
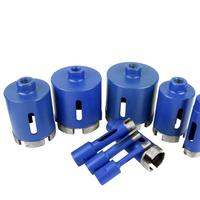
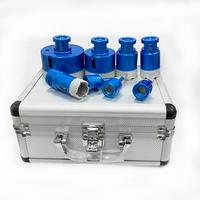
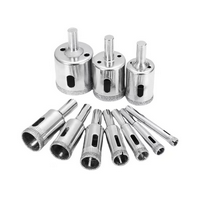
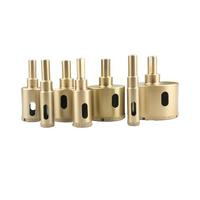
Start from the diamond drill bit category. A tile and concrete core bit covers the tile layer, and an M14 hole saw kit gives a range of diameters for fittings.
Two related reads: drilling tile without cracking it, and water cooling for core drilling.
Safety
Scan for services before drilling. Wear eye protection and gloves, use RCD protection with water-fed tools, and support the tile so it cannot flex. Porcelain shards are sharp; clear them with a brush and dustpan rather than by hand.
If you are fixing into tiled walls and need a bit combination for the tile and substrate, send the tile type and wall construction and we will advise.