
 ES
Two contractors can look at the same floor and disagree about whether it is finished. A gloss meter settles the argument with a number, but only if the reading is taken under the same conditions and compared against a realistic target for that stone.
What a gloss unit is
A gloss meter shines a defined beam at the surface and measures how much light returns at the mirror angle. The scale is calibrated against a polished black glass reference, so the result is expressed in gloss units, or GU, rather than as a percentage of reflected light. A higher number means more specular reflection.
Most stone work uses a 60-degree geometry. Very high-gloss surfaces can be read at 20 degrees for better discrimination, and low-sheen or honed surfaces at 85 degrees. Mixing angles produces numbers that cannot be compared, so record the geometry alongside the reading.
What the number can and cannot tell you
Gloss measures reflection, not scratch removal. A floor can read high while still showing a haze of fine scratches under raking light, or read modestly while having a perfectly refined, even surface that the owner actually wanted. Dense, fine-grained stones generally reach higher readings than open, porous ones on the same polishing sequence.
The guide to polishing haze and uneven gloss covers the defects a gloss number will miss, and the honed versus polished comparison explains why a low reading is sometimes the specification rather than a failure.
Taking a reading that means something
- Clean and dry the surface. Water film, polishing residue, and dust all change the result.
- Take several points. Record a spread across the area, including edges and any traffic paths, rather than one favourable spot.
- Note the grit sequence. Readings belong to a specific final pad stage, not to the floor in general.
- Keep the instrument calibrated. Check against its reference tile before a measurement session.
- Fix the acceptance value in writing. Agree the geometry and the expected range before polishing starts.
Specifying the reading
A gloss figure on its own is easy to argue about. Write down the instrument geometry, the number and location of reading points, the surface condition at the time of measurement, and the accepted range. Then take the same readings on the agreed test panel before the main floor is polished.
It also helps to photograph the surface under the same raking light each time. Two floors can measure within a few gloss units of each other and still look different because one carries a directional haze. The photograph does not replace the number, but it explains the complaints a number cannot.
Using readings to control the process
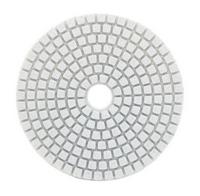
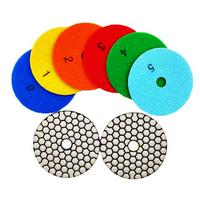
Read after each grit stage on a test patch. If the value stops rising between two stages, the previous grit has not been fully refined or the pad is worn, and going finer will not fix it. This turns the polishing sequence into a measured progression rather than a fixed number of passes. A three-step hybrid pad and a dry diamond polishing pad produce different progressions, so keep the tooling constant across the test.
Tooling and site practice
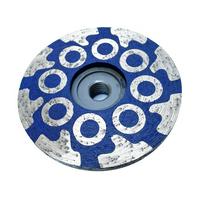
Browse the polishing tools category to match pad type to the stone and the machine. Wear eye protection, gloves, and hearing protection, keep the work area ventilated when polishing dry, and use an RCD-protected supply for wet work. Confirm the pad's rated rpm against the tool before starting.